Hello there! I’m Amelia, and today I’m thrilled to guide you through the enchanting process of making your own resin pen holder. Unlike the usual pen holders you find in stores, this one will be uniquely yours, crafted with love and creativity. Let’s dive into the details!
What You’ll Need ️
- Silicone Pen Holder Mold with a base plug for stability
- A mix of Epoxy Resin and Hardener for the perfect consistency
- Gorgeous Purple Mica Powder for that touch of color
- A handy Plastic Sheet to keep your workspace clean
- Adhesive Glue for secure assembly
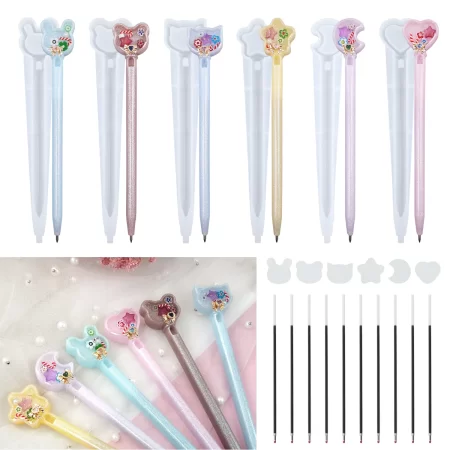
- Shaker Tubes with end caps to add an interactive element
- Tiny, charming Mini Caviar Beads
- Quicksand Oil for a mesmerizing, flowing effect
- Holographic Chunky Glitter in assorted colors and shapes for sparkle
- A protective Plastic Cap for the shaker tubes
- A Resin Curing UV Flashlight to speed up the curing process
- Small Plastic Cups with spouts for precise pouring
- Protective Gloves for safety
Creating Your Masterpiece: Step-by-Step
1. Preparing the Shaker Tubes
Begin your resin journey by preparing the shaker tubes. Spread a plastic sheet on your workspace and apply glue to one end of a shaker tube. Secure a cap on this end. Fill the tube with mini caviar beads and quicksand oil, then seal the other end with a cap. You can add a dash of color to the quicksand oil with mica powder for an extra pop.
2. Filling the Silicone Mold
Pour a beautiful mix of purple-tinted resin and sparkling chunky glitter into the rim of the pen holder mold. Allow this layer to semi-set for 3-6 hours for stability. Then, place your prepared shaker tubes in the mold, filling the gaps with more purple resin. Remember to squeeze the mold gently to remove air bubbles and leave room for the base plug.
3. Setting the Base
After the mold has set, remove the base plug. Add a blend of glitter and pearls into the base cavity, then pour in some quicksand oil. Seal the shaker tubes with glued plastic caps and use the UV flashlight to solidify the glue. Fill the remaining space with purple resin and let it cure overnight.
4. The Big Reveal: Demolding Your Pen Holder
Once your pen holder has fully cured, it’s time to gently demold it. Voilà! You now have a stunning, personalized pen holder, perfect for your desk or as a heartfelt gift.
Key Takeaways ️
| Step | Materials | Tips |
|---|---|---|
| Prepare Shaker Tubes | Shaker Tubes, Glue, Mini Beads, Quicksand Oil | Use a plastic sheet to avoid mess, color the oil for extra flair |
| Fill Mold | Purple Resin, Glitter, Mold | Allow base layer to semi-set for stability |
| Set Base | Glitter, Pearls, Quicksand Oil, UV Light | Use UV light to secure caps quickly |
| Demold | Patience! | Gently demold to reveal your creation |